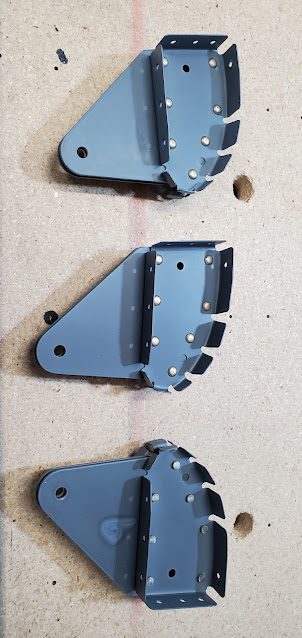
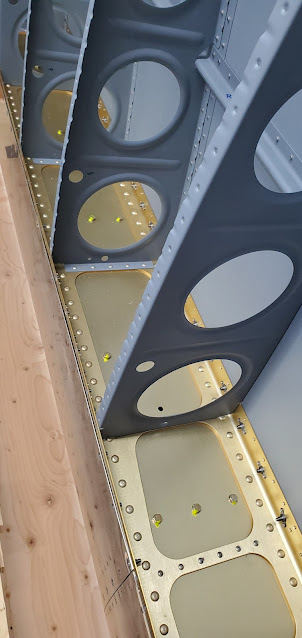
Before I started on the flaps today, I did a little back tracking. No pictures, but there were a few AN470 rivets that have been bugging me for a while. I've since figured out that position really matters when riveting. During my learning curve, I've destroyed some rivets, and I left them in place because I wasn't sure if I'd do a better job after drilling them out. Fast forward, and I've got a lot more experience now - enough that I can drill out rivets without doing much damage, and enough that I can rivet with far more skill. So today I started my garage session by drilling out about a half dozen rivets in the wings and redoing them. Most of these were due to one thing - the manufactured head was severely dinged because I had let the rivet gun walk all over the place (the mil spec says that anything over 1/4 the depth of the manufactured head needs to be replaced due to increased risk of future cracking). This was before I figured out that the air restriction device that goes on the gun is a terrible tool. I don't know why it's different, but changing the air pressure at the wall makes for a completely different riveting experience. I mean completely different. Instead of leaving the main line at 90 psi and restricting the air using the gauge at the gun, I dial back the main line to around 40 psi for #40 rivets and 30 psi for #30 rivets. For whatever reason, the rivet gun is much, much more controllable as compared to the 90 psi but using the valve at the gun to dial it back. It just hits very differently. So anyway, lessons behind me, I drilled out a number of rivets that I consider sub-par, and I redid them. All turned out 100% better. Once I have the flaps done and room on my table, I will bring the horizontal stabilizer back down to the shop and drill out the internal rib to spar rivets. The exact same thing happened with them (such deep dings that I worry about cracking), partially because this was before I had purchased offset sets for the rivet gun. I'll sleep better with those re-shot.
On to the flaps...
The next step was to rivet the top skin to the nose ribs. While the inboard and outboard ribs have access and can be riveted using solid rivets, all of the other nose ribs have to be riveted with pop rivets. The top skin and ribs were weighted down with about 100 lbs of weight to ensure everything stays flat while riveting.
In preparation for riveting the top skin to the spar, I put the flap back in the jig and clecoed the bottom side of the nose skin to the spar. This is when I'm very thankful for the pneumatic cleco tool!
Originally when I had assembled the flap and drilled everything, the interface between the inboard and outboard leading edge skin was super tight - so tight that it overlapped a little bit. I took a file to the edge to open it up until it fit correctly. Fast forward to actually riveting the pieces together, and surprise, now there is a big gap between the skins! Apparently I should have left it alone. It's a complete non-issue (this area will be tucked behind the wing except for full flap deflection), but kind of irritating regardless.

I started riveting in the middle of the leading edge skins and worked my way out towards the ends. The instructions call for 3.5 length rivets, but I ended up using -4's since I dimpled the spar instead of countersinking it. The instructions say to countersink, but the material is .40" thick, which is at the extreme edge of what can be dimpled, but it's also at the extreme edge of what can be countersunk. Countersinking such thin material makes it extremely easy to make the holes too big, so I ground down one of my dimpling dies to allow it to set correctly in the angled spar flange and dimpled instead. I honestly don't know why Van's doesn't recommend this. The dimpled spar is far stronger.


