I need a little break from wiring. Not having at least the front portion of the rear top skin riveted on was holding up other tasks, so that's what I tackled this morning before my dogsitting duties started. It's obviously been a while since I've done any riveting! The first few rivets were ugly and had to be redone. After that, the feel of it returned and the rest of the riveting went quickly. I only did from the baggage bulkhead forward. I can reach about halfway back inside the tailcone, but figured I might as well do it the easy way and wait for when I have help.
With the top skin riveted to the top fuselage longeron, I can finally put the seat back brace in, which then allows further work to be done. I thought about leaving it out for a while still just to make crawling back into the tailcone easier for the final finishing touches, but if I use that logic, I'll never finish anything in the plane. Making progress usually has some tradeoffs in terms of future convenience.
I put the brace into position and got all of the screws and nuts tightened up, but not without a bit of head scratching. I have a ton of pictures from the initial assembly, but they don't show everything. The assembly made sense at the time! I had labeled all of the hardware and put it in baggies, but back then I figured I'd remember which screw went where I guess. Since this was a modification (and I modified the modification), there really isn't anything to go off of. I finally got it sorted out and jogged my memory though. Lesson learned - you can never have too many pictures!

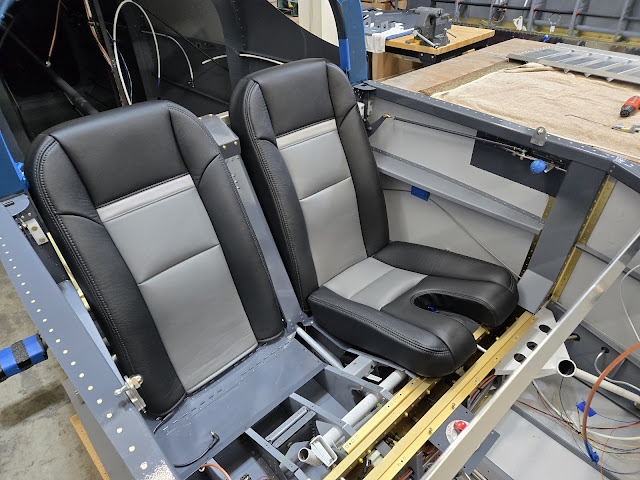
Of course, as seems to be the case almost 100% of the time, things that fit perfectly during initial assembly don't always fit perfectly later on. I think it usually comes down to the order that parts are put together. Especially with parts that are screwed together, there is enough slop in holes to make it pretty easy for everything to shift a little. I wasn't planning on attaching the side panel of the flap motor housing, but I had to in order to get the rest of the parts to line up. When I initially tightened the flap housing parts to the brace without the side panel, it was obvious the side panel wasn't going to fit. I put the side panel on as my reference and then tightened everything up. The other side panel is off, so I have open access to the flap motor still. Just having the seat brace and the flap housing in place really changes the look and feel of the plane!

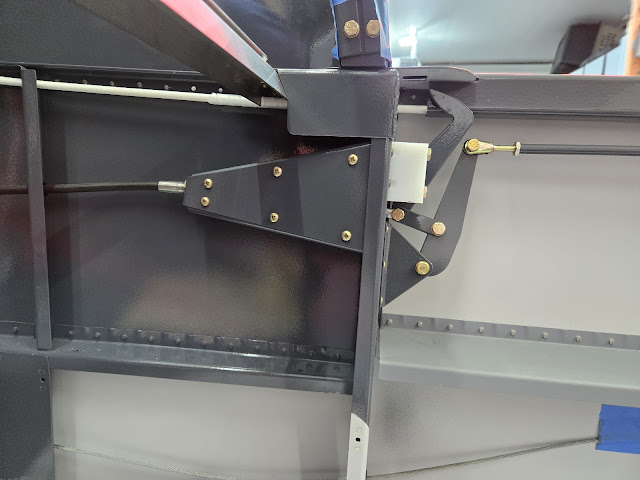
With the brace and flap housing in place, now I can move my way through a few other tasks that were somewhat contingent on them. Even without the canopy in place, I can tweak the position of the canopy latch teleflex cable and get it set to the right length. The seats from Classic Aero have integral seat frames and don't use the seat backs that I made, so with the seat brace in, now I can set them in place and attach the bottom hinges and rear adjustment angle to them. Then, with that done, I can put the bottom cushions in place and make sure all is well for the control sticks. Then the copilot control stick can be drilled (to attach the stick to the permanent portion of the central controls in a way that allows it to be secure but easily removed), and the controls can be finalized and put in place. I did order the stick grips, so hopefully those arrive soon so I can wire up the pilot grip before putting the controls in place.


