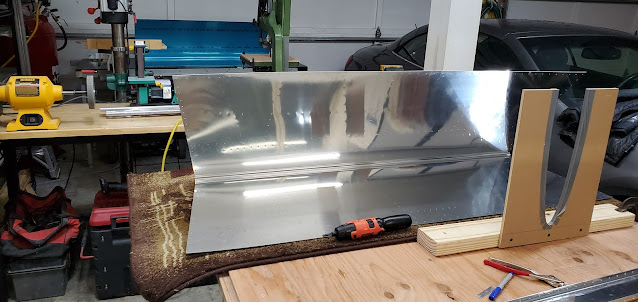
The right horizontal stabilizer was fitted yesterday, so today we disassembled everything and began deburring all holes and edges, as well as dimpling and countersinking. Deburring has been a little bit of an experiment. Thicker material seems okay to deburr with the Cleaveland deburring bit in the powered screwdriver, but in thin material the bit either creates too much of a countersink or doesn't actually remove the burr enough to matter. For thin material we found that using a reamer to match drill created such a smooth surface that deburring was not usually necessary. When it was necessary, instead of using a bit, running worn out sand paper over the surface was enough to flatten the burr. I researched deburring until blue in the face, and from what I've found, most commercial specs call for simply running something over the surface to remove the outer burr, but not worrying about creating any kind of a chamfer. In the future, I will be a little more free with just surface deburring vs using the bit.
The nose ribs of the horizontal stabilizer have a front flange tab that has a single hole in them. The edge distance is not what it should be, but I emailed Van's and they said this is very common for these ribs, and not to worry and build on.
After finishing the right stabilizer, we moved on to the left and repeated the exact same process. Following that, we started on the vertical stabilizer. This was actually considerably less involved and may have actually been a better place to start than the horizontal stabs. We clecoed and drilled the vertical spar and doublers, then the hinge brackets. After finishing the edges and fluting the ribs, those were match drilled to the spar as well. Attaching the skin to the vertical stabilizer skeleton was far easier than the horizontal stabs. It did not require a jig and wasn't nearly as tight of a fit.


