The next step of assembly of the right elevator is to rivet together the counterbalance ribs. They are simply riveted together through the web.

That was followed by riveting the counterbalance skin onto those ribs. I am learning from my previous mistakes! Instead of filling all of the holes with rivets out of excitement (like I did a few times early on in my riveting career), I made sure to check the plans and leave holes open for areas that will accept the elevator skin at a later step. The big holes on the outside of the counterbalance skin are the attachment points for the fiberglass tips.

The elevator control horn is attached to the inboard rib and spar.

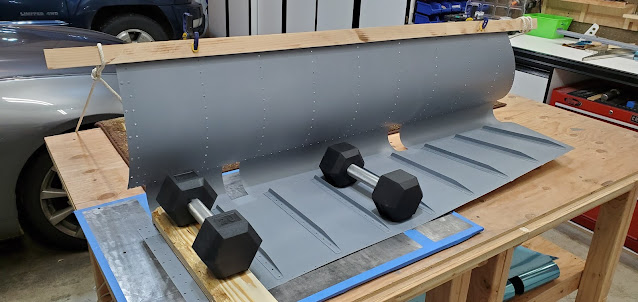
Lastly for tonight, the top skin stiffeners were back riveted on. It took as long to place the teeny tiny rivets in all of those holes as it did to actually set them. I did notice that there are a number of areas on the skin that are pretty light in terms of primer. I sprayed the insides of this skin in a major rush just as the rain was starting, so it's not surprising. I'll take a look at it again in the light once I'm done with all of the stiffeners and decide if I need to get the coverage a little better. If I do, I won't bother setting up to spray the primer. I'll just use a sponge or something to dab the areas that need it (the primer manufacturer actually recommends using a foam roller to apply the primer if you don't have a spray gun). This area just needs protection, not artwork. Once it's riveted, it'll never see the light of day ever again.