I got a lot done today, and also not a lot, depending on the perspective. I should have gotten quite a bit more done, but ran into some difficulties.
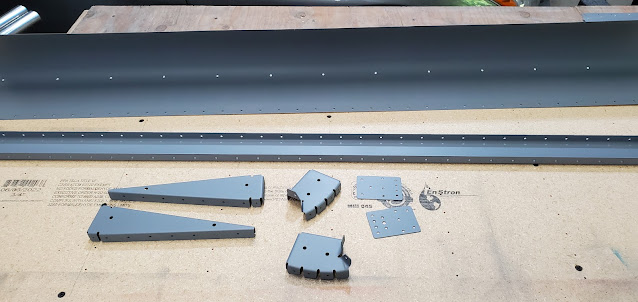
First I scuffed and cleaned all of the remaining parts for both the right and left ailerons and got them primed.
I started on the left aileron. The first few steps are simple - just rivet on the doublers to the spar.
This is when I ran into trouble. I clecoed the lower skin to the ribs, followed by the top skin to the ribs. Then the instructions are a repeated of how the aileron went together earlier. I clecoed the lower skin to the spar, then the bottom nose skin, then did my ratchet strap dance and got the top skin and nose skin clecoed to the spar. I thought "easy!" as I finished up. As soon as I released the straps, the aileron sprung to life and virtually all of the clecos in the top and bottom skin popped out. The aileron looked like a twisted mess sitting there, and I was afraid it had been damaged, but thankfully everything was fine. The issue is that the spar is countersunk, not dimpled, because the thickness is right on the edge of being too thick to dimple (dimpling would cause it to warp). The problem is that means it's also on the edge of being too thin to countersink. In order to get an appropriately deep countersink to accommodate the dimpled skin, the countersink just barely busts through the other side of the material. That makes the center hole a little bit bigger than it would be if the material were thicker. This is fine in this situation (apparently, since that's what Van's specifies), but the slightly larger hole means the clecos won't hold. The only solution is to put something for the cleco to grab behind the enlarged hole. I took everything apart and started over again. For the bottom skin, it was relatively easy since I had access to the spar. I have a bunch of little pieces of aluminum that are drilled to #40 that I keep around just for this.
The problem is the top skin. Once it is ratcheted onto the spar, there is very little room to get my hand in between the skins to blindly put these keepers in place. I'll have to get my hand in for riveting, but that doesn't require me to have an itty bitty piece of aluminum squeezed between two fingers. I finally gave up after getting just two or three on. I'll try again tomorrow when my patience is fresh. I'm thinking it might be easier if I got some small nuts vs using the aluminum. Nuts may just be easier to balance on a finger tip.


