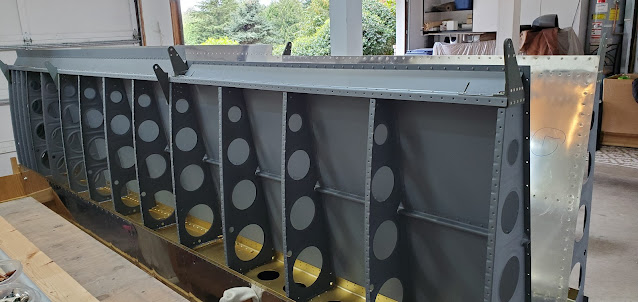
I don't have pictures of most of the steps, but with Dad here, we hammered through the right wing and got the top skins, J stringers, aileron and flap brackets, and gap fairings riveted on. It feels great to finally have this wing caught up with the other one! The fuel tank took a little bit of work to get it mounted to where it laid nicely against the other leading edge and spar, but after tweaking a few things (including squeezing some of the rear baffle rivets a little more so they wouldn't hit the spar), we got it mated nicely. Something for me to keep in mind in the future is that it's easier to "set" the tanks in the right position by using the screws through the skin vs starting with the z bracket bolts.
We moved the right wing off of the stand and set it in the cradle alongside the left wing.
The aileron bellcrank to aileron pushrod was up next. This is powder coated steel vs the aluminum of the larger pushrods. The plans could make life a little easier by simply indicating the length the pipe needs to be cut to. Not sure why they don't, but after checking and double checking we finally figured out the length and used a hacksaw for the cut. These tubes are much smaller, so we simply poured some primer in them and sloshed it around until the insides were coated. Next up will be drilling these and riveting on the rod ends.


