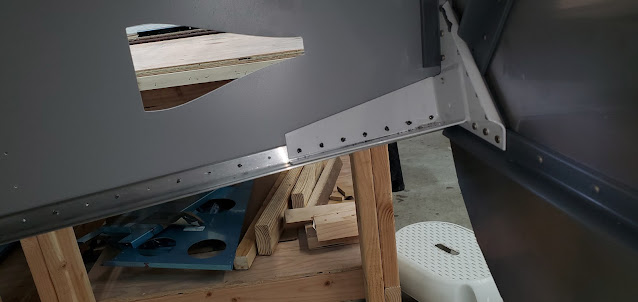
Once the firewall was clamped, I also clamped the steel brackets to the longerons. The rivets were just temporary to keep the skin and longeron holes lined up while I worked. I ended up grinding down the sides of my clamps so they could fit in between the rivets.
Next up was drilling the side skins to the firewall flange. The stainless steel didn't give me too much trouble, although I'll have to do a lot of cleanup of the holes after everything is taken apart. The exit side of the hole always has a nasty, sharp spur when drilling stainless.
After both sides of the firewall were drilled and clecoed, I moved on to match drilling the steel brackets to the existing longeron/skin holes.
Then on to the bottom (top in the picture) skin to firewall section - one row of holes drilled into the aluminum angle on the aft face of the firewall and one row of holes into the firewall flange itself.
Once the bottom skin was drilled a thin spacer and a thick aluminum sheet get added to the outside portions of the firewall. This is to aid in supporting the cowling (although I'm not quite sure how yet).
Instead of diving into putting more of the side skin stiffeners in place, I decided to spend some time on one of those tasks that has very little motivational value because you see no progress - match drilling and final size drilling the side skins to the center section and tailcone. I finished up both sides. There is a lot that has to be pre-assembled all at once before it can all be taken back apart and prepared for riveting! That's going to make riveting prep interesting, especially given that it seems like every part has very specific callouts for holes - countersink these 2 holes, dimple those 4, but put a flat shim in between....it's going to take a while to figure out the correct prep for each part.


