I'm inching my way towards having the canopy frame ready for paint and riveting (and then comes fitting the canopy itself). Early kits just had the skin on the frame with nothing else, but somewhere along the way Van's developed a stiffener kit to try to improve how flimsy the whole setup was. Fitting these stiffeners was a struggle, but even just clecoed on, it makes the frame much, much more solid. It's still considered optional, but I don't know why anyone would skip it.
I had already bent the stiffeners and match drilled them to the front frame channel a while back. The next step was to get them drilled to the skin. I learned my lesson from doing too much fabrication with the frame off of the plane, so I wanted to drill the stiffeners to the skin with everything in place on the fuselage. I figured that would help ensure that I didn't build any twist into the frame (since there are no holes in the skin, you could easily create twist without knowing it by the time you go from one end to the other). After drilling all of the holes in the skin, except for the outside two tabs that go into the frame itself, I pulled the frame off so I could do the rest of the work on the bench.

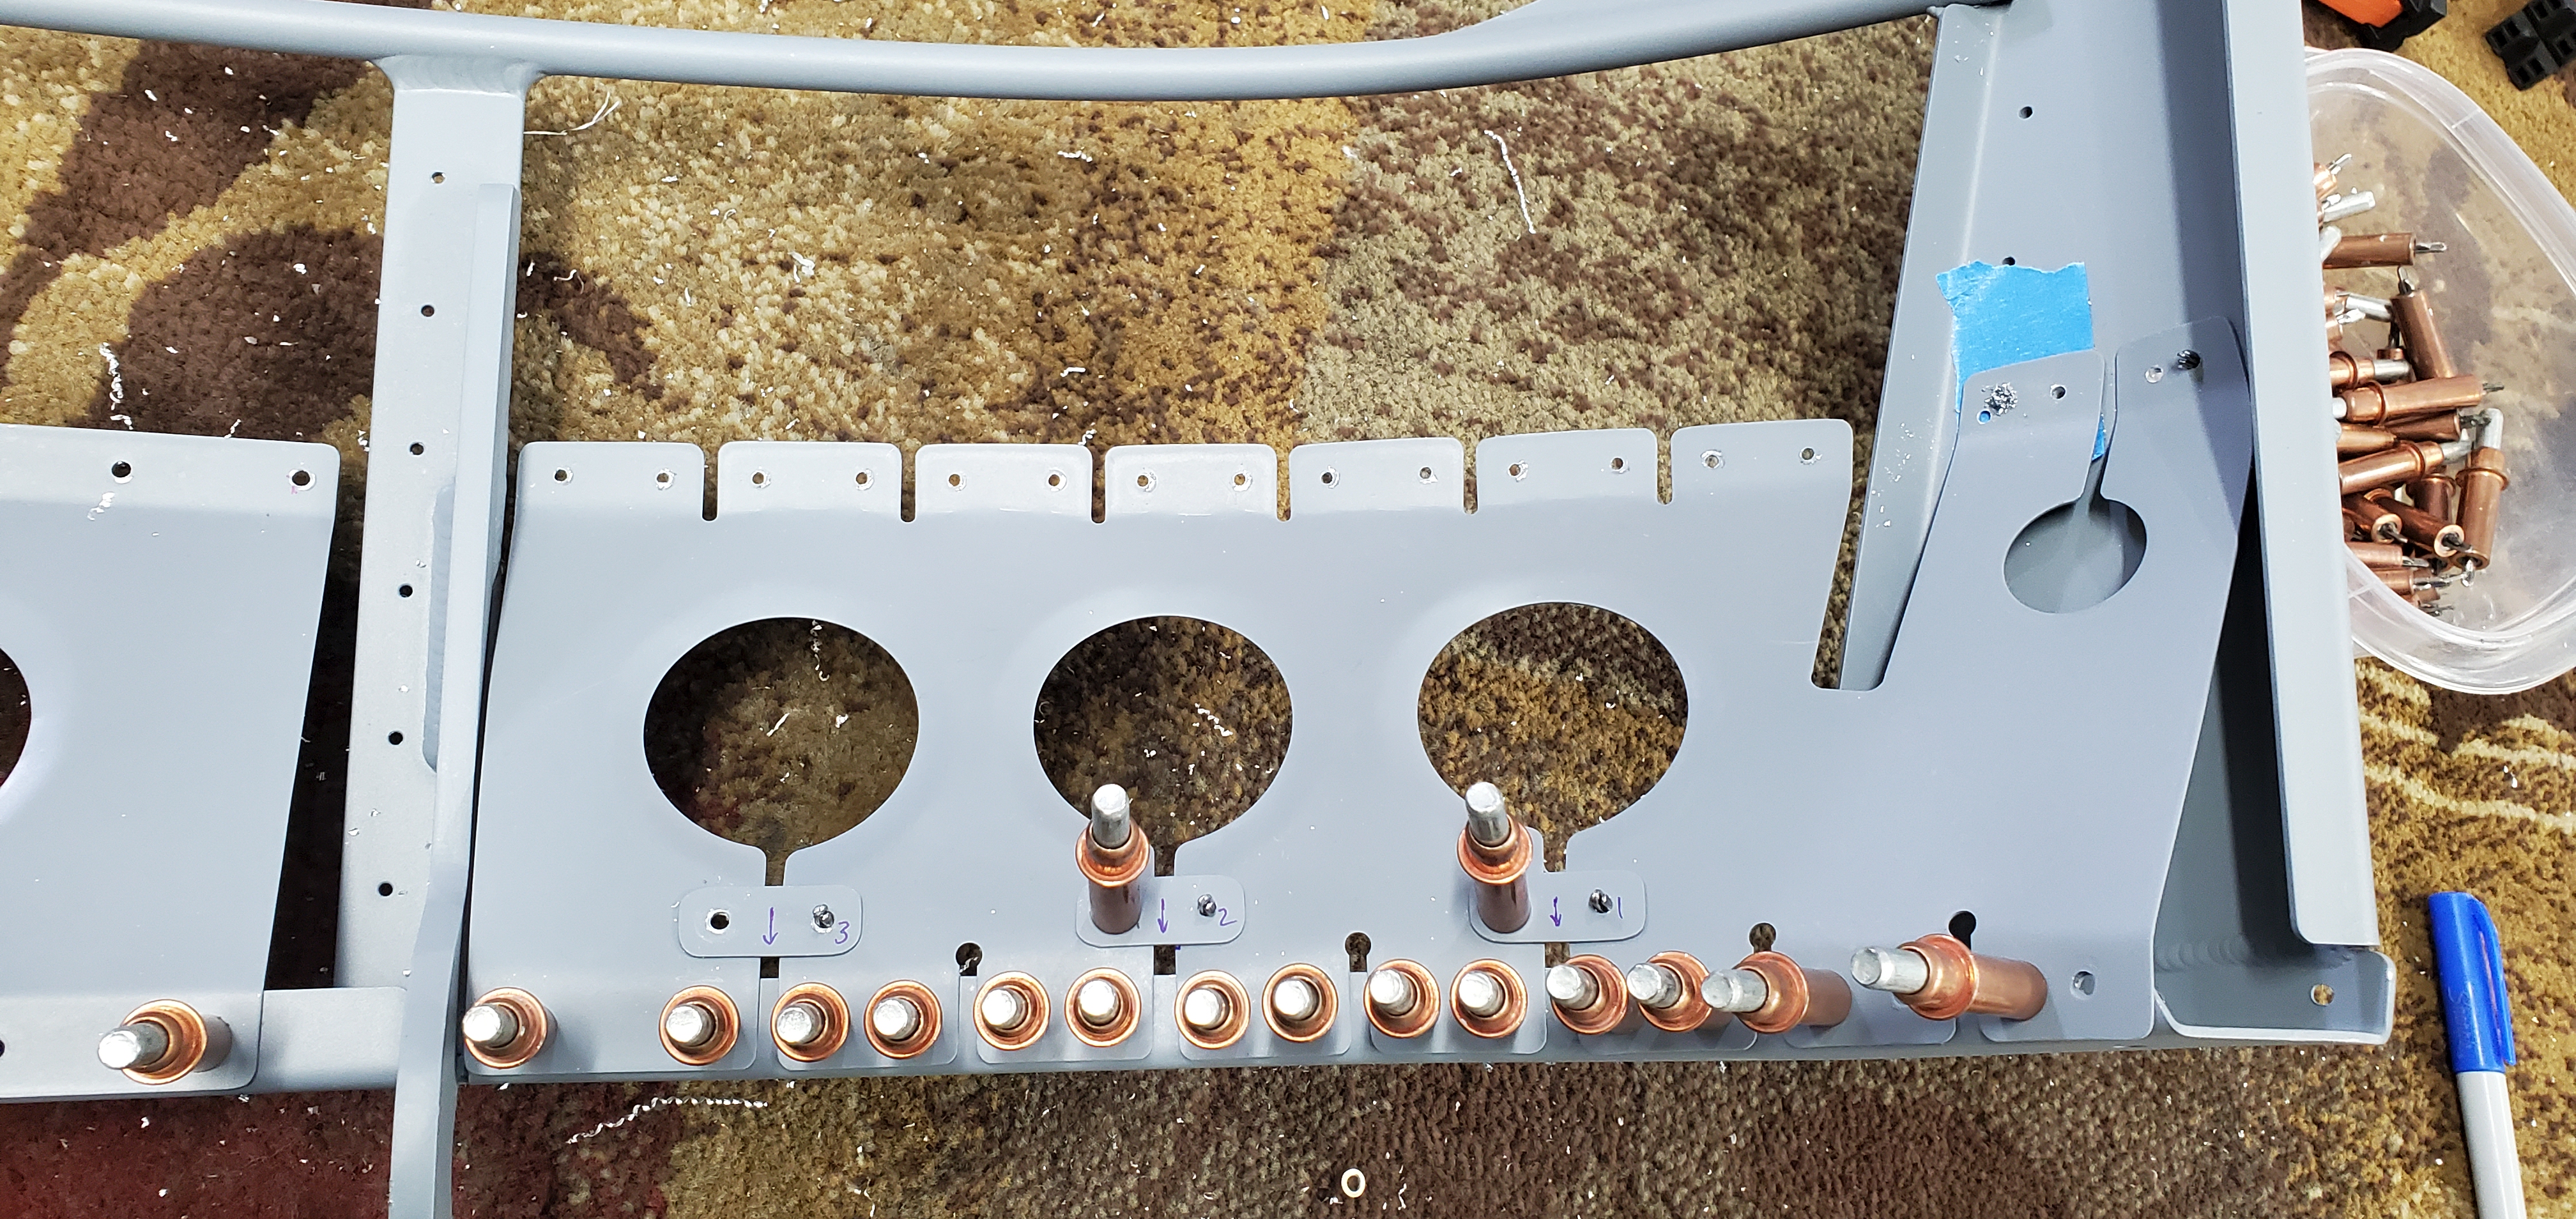
The last step for the stiffeners was to make some small tabs that will span the open gaps between the big holes and "set" the curve. These will get riveted on the inside, but I match drilled them on the outside just for ease of access. I didn't think those tabs would make much of a difference, but they really do lock the curve of the parts into place and make the assembly rock solid.


I dimpled all of the holes in the skin for the stiffeners and did some countersinking of the frame for a few holes. With that, I think I'm ready to paint, rivet and start work on the canopy bubble itself!
I didn't want to forget which way each tab went one (they are handmade, so a 1:1 fit), so I went ahead and riveted them onto the stiffeners. All of this will get a coat of paint the next time I have a sunny, wind free day.

Last up for today were some random items, mostly dealing with things that won't work as designed and need slight tweaking. I neglected to get pictures of a lot of it. The first thing I did, which you can see by the two big holes below, was match drill the canopy hydraulic strut attachment I had previously made to the frame. Van's provides a measurement, which surprise surprise, won't work. If I followed their measurement, the attachment would sit right on top of a rivet coming through from the skin (the empty hole you can see in the frame to the right of the two big holes). Hopefully moving the strut forward 1/8" won't cause any issues, because that's what I had to do out of necessity. Lastly, there is an existing hole in the skin that lands right on the edge of one of the rivets in the frame brace. So I drilled a new hole through the skin and into the brace. I'll just have to fill the old hole in the skin as part of my fiberglass work on the canopy.

I dimpled all of the holes in the skin for the stiffeners and did some countersinking of the frame for a few holes. With that, I think I'm ready to paint, rivet and start work on the canopy bubble itself!