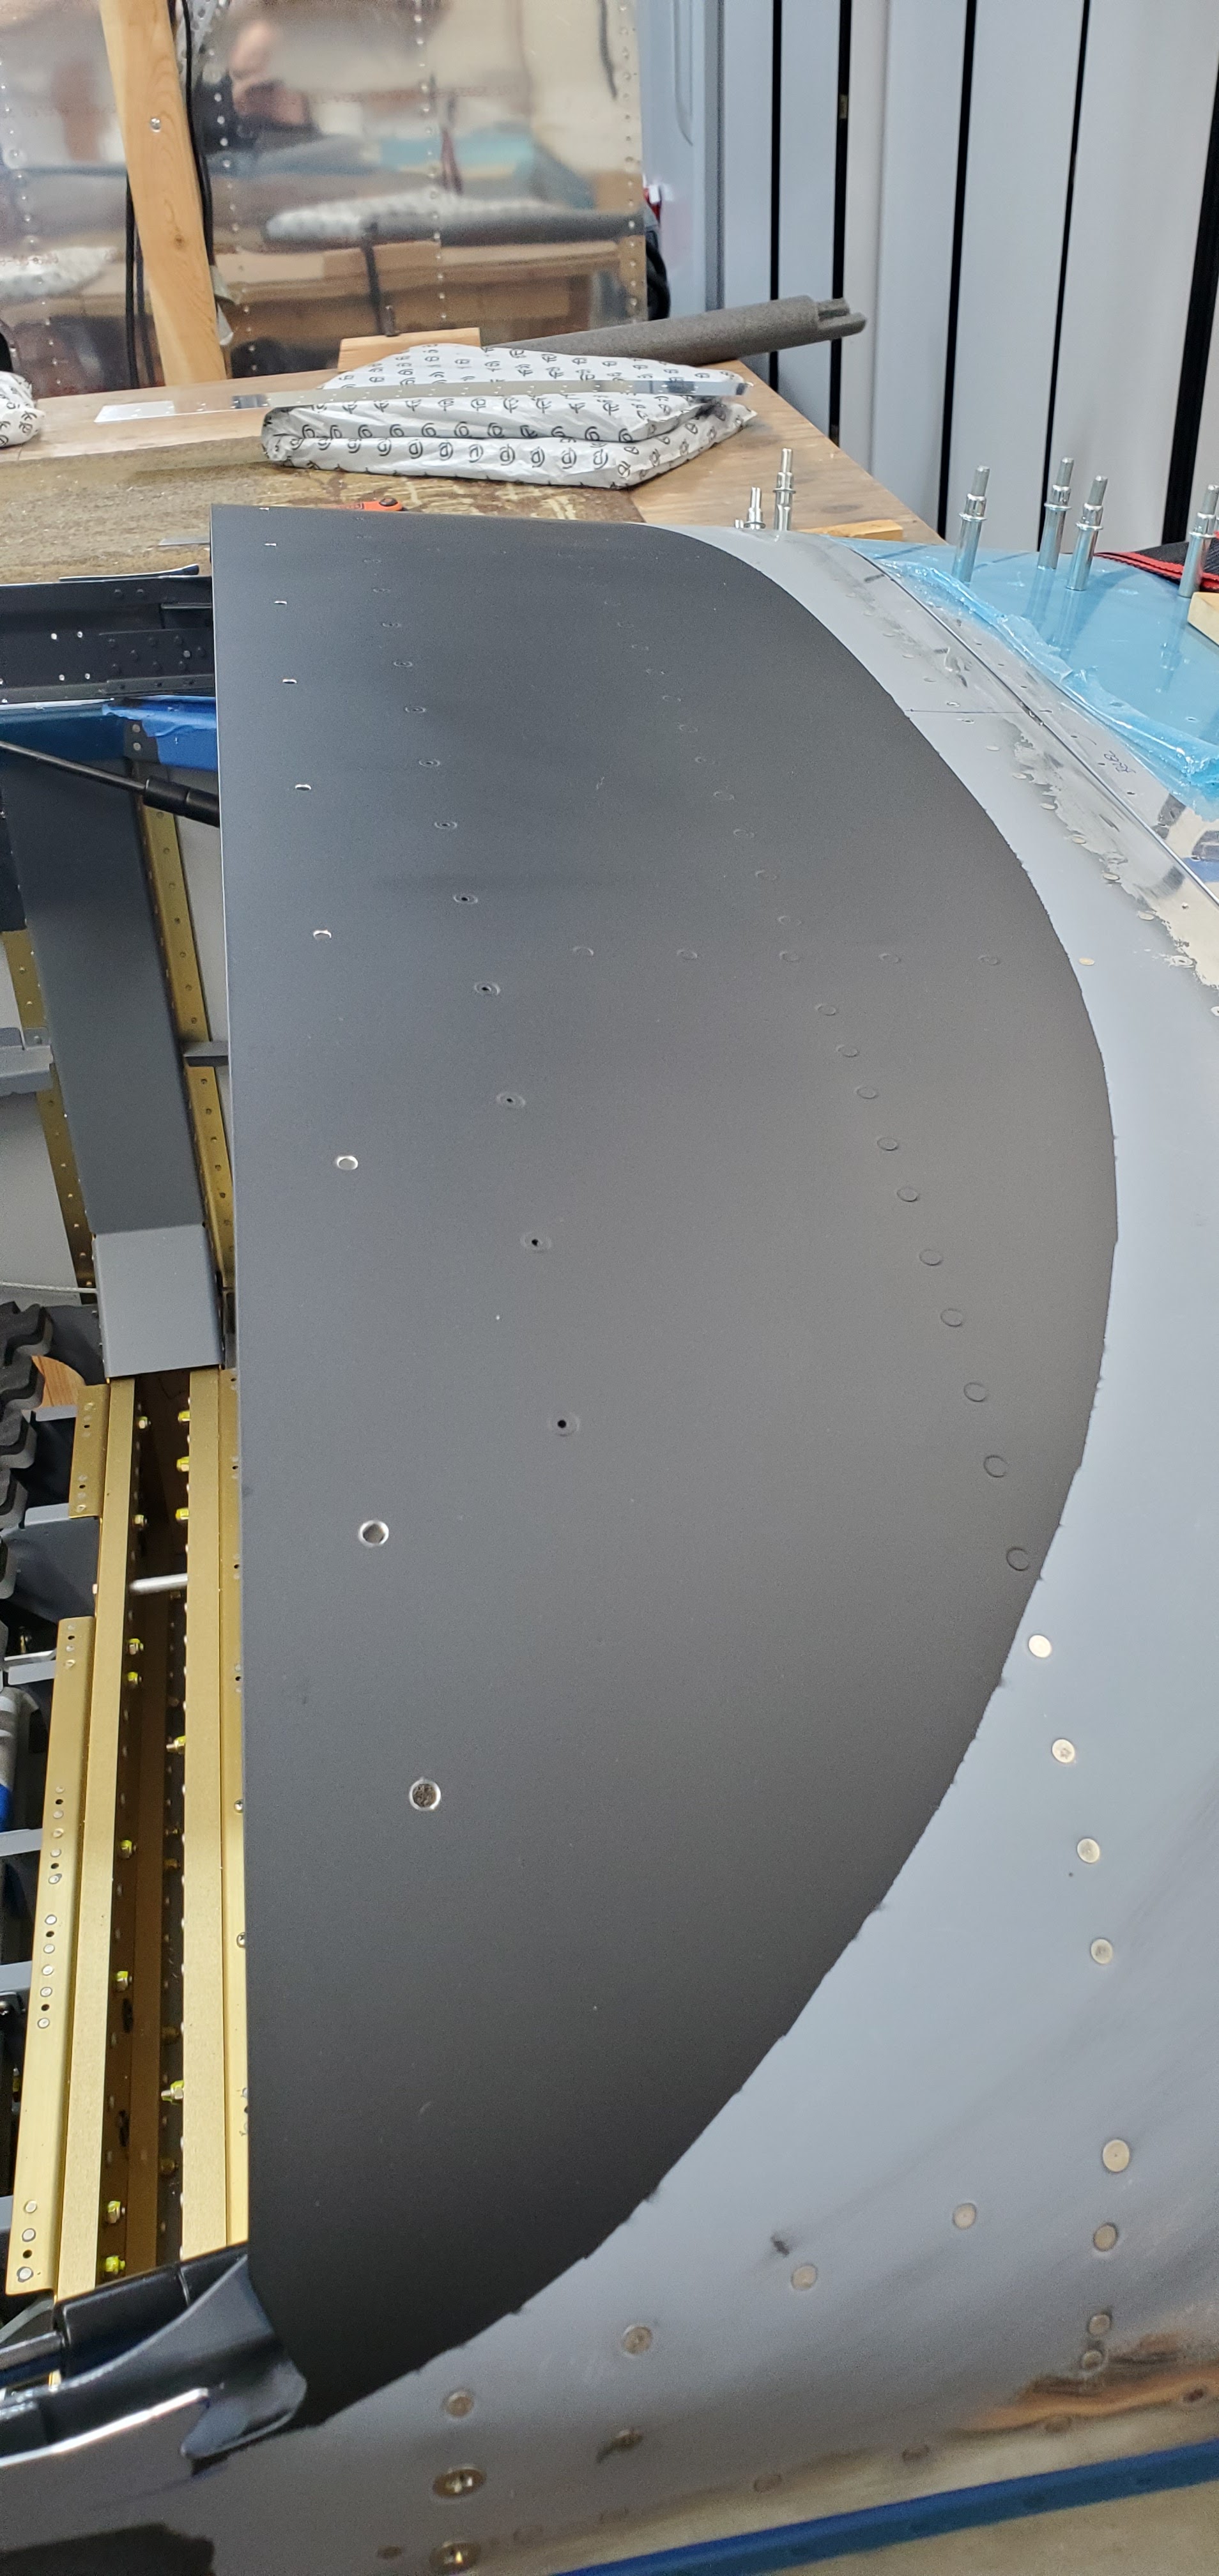
Over the last few days I've continued to chip away at canopy tasks. I'm getting very close to the point of attaching the canopy to the frame, so need to have all of the miscellaneous build items done that will be more difficult to do once access is limited by the bubble. I'm undecided on whether or not I'll just leave the glare shield bare or fit some sort of material to it, but regardless of that, I figured having it painted black would cover all bases just in case. The picture is deceiving - once the paint dries it'll actually be a flat black (to minimize reflections on the canopy).

Once the paint was dry, the next thing on the punch list was to drill holes in the aft edge of the glare shield for the edge trim. I'm not going to attach the trim until the rest of the interior goes in, but the mounting holes need to be in place. The trim from Classic Aero came with a template, which made life easy. I threw down some tape, put the template on top of it and marked the hole locations.

The last thing I need to decide on is whether or not to drill a couple of large holes in the glare shield for defrost fans. It's common to put a couple of small computer fans in to pull air from behind the panel. I'm not convinced it'd be all the effective though, especially given that the space to fit the fans is so small - probably 2" or so (which means the fans are even smaller after accounting for space for their housings). The main reason people put these in is to help with defogging during taxiing (there's no way they would actually "defrost), but I think the more compelling argument is using them to help cool all of the panel electronics. I'll have to mull it over a bit more.
I didn't bother taking the time to get the glare shield paint edged perfectly in line with the canopy since it'll actually be scuffed back a ways for the Sika primer anyway. This whole front skin looks like a nightmare right now with all of the primer, paint and markings. I'm having a hard time not tackling it right away to clean it up, but I know that would just be wasted effort since the entire thing will be covered in fiberglass down the road.
The canopy will get sandwiched between the frame side rails and the side skins. I trimmed the skins down to match the side rail height, then match drilled it all.
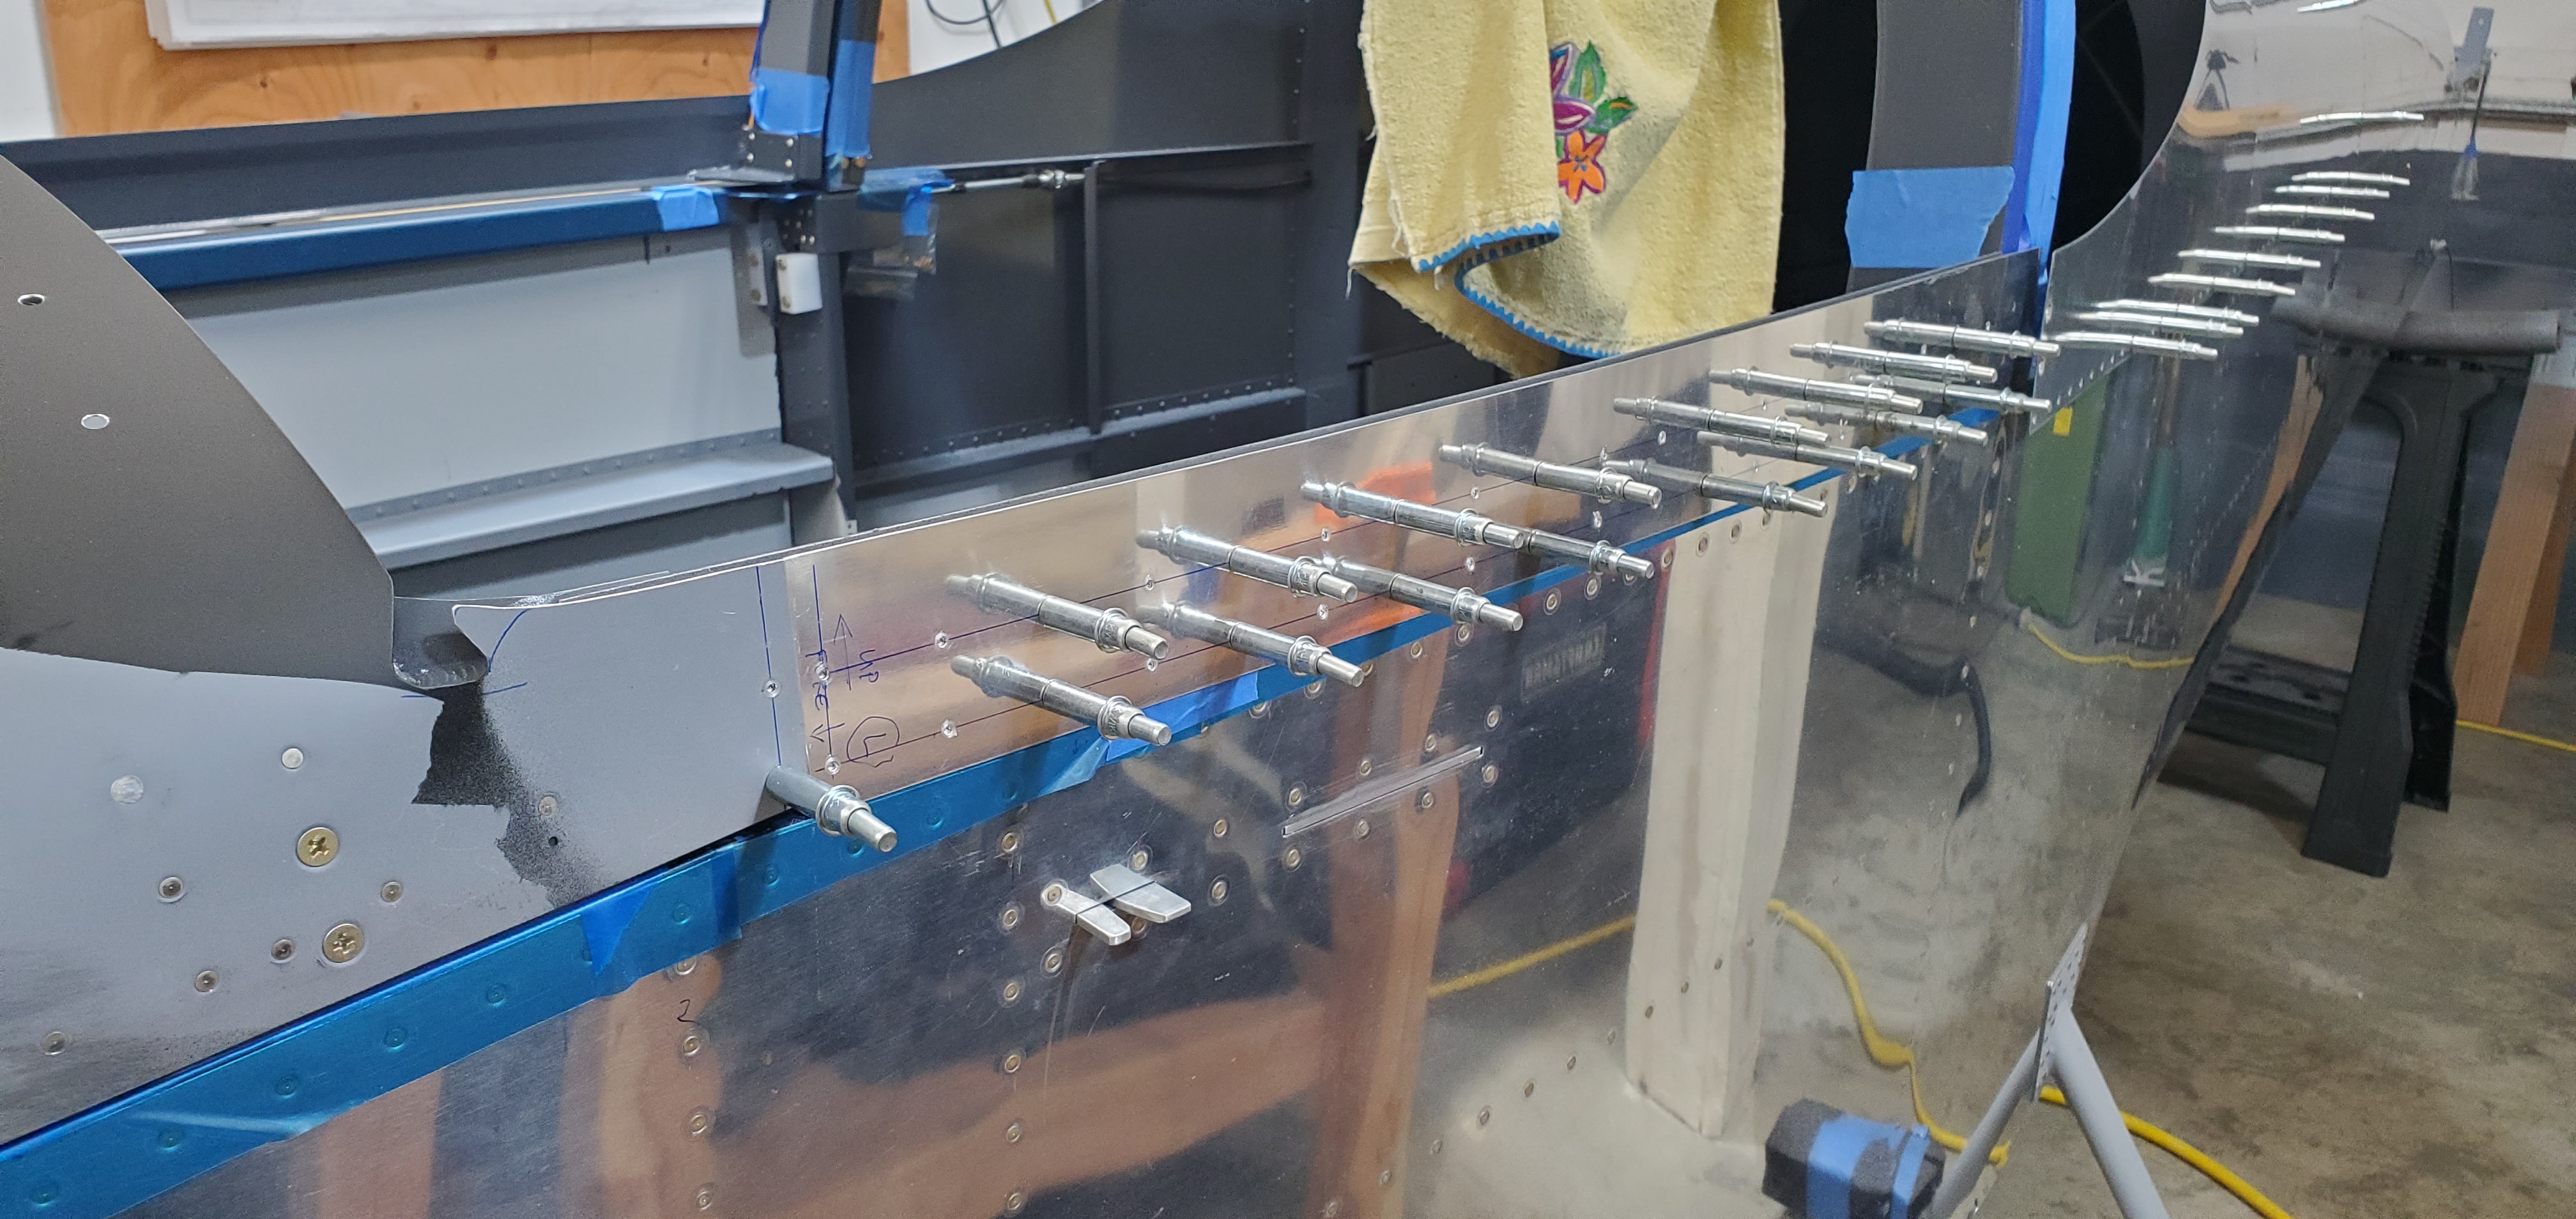
Once match drilled, the skins were dimpled and the side rails were countersunk. I should have drilled the aft two holes in the front skin (where it meets up with the side skins) back before I riveted the front skin on, but since I didn't, dimpling and countersinking wouldn't work. I decided to just countersink through the skin and into the frame. This approach is used in a few other areas of the airframe. The downside is that it doesn't leave a lot of meat on the skin itself for the rivet to grab, but this area isn't under much stress, and like everything else, will be covered in a few layers of fiberglass down the road.

For the 100th time, I trimmed various edges of the canopy. I think I'm close enough to the final shape that it's time to polish the edges. That's for another day though.
