The name of the game for today was trying to improve the fit of the front canopy frame one step at a time. I think it's going to be hard to get a consistent fit until things are actually riveted together. Clecos have just enough give to allow for a lot of variation when removing and installing the frame over and over (which I did about 100 times today).
I riveted the hinge brackets to the front channel. This alone really helped to stiffen things up, but unfortunately it also caused the fit of the skin to the aft round tube to be off now. The skin had already been drilled to the aft tube, but the riveting of the hinge bracket pulled the whole welded structure forward enough to make 3 or 4 holes on the tube about a half hole off. Luckily, I had only drilled those holes to #40, which means I still have some wiggle room to drill them to the final #30 size. They are not structural and only get pop rivets to hold down the glare shield, so if the holes are a little oblong it won't be the end of the world.

Next up was trying to get each side aligned to the fuselage side skin. I pulled, pushed and twisted one side, then the other, then back, then back... Every tweak changed the other side. How high the frame sets off of the longeron at the aft end really changes the angle at the front, so I spent some time figuring out what the appropriate height was based on where it put the edge of the skin.
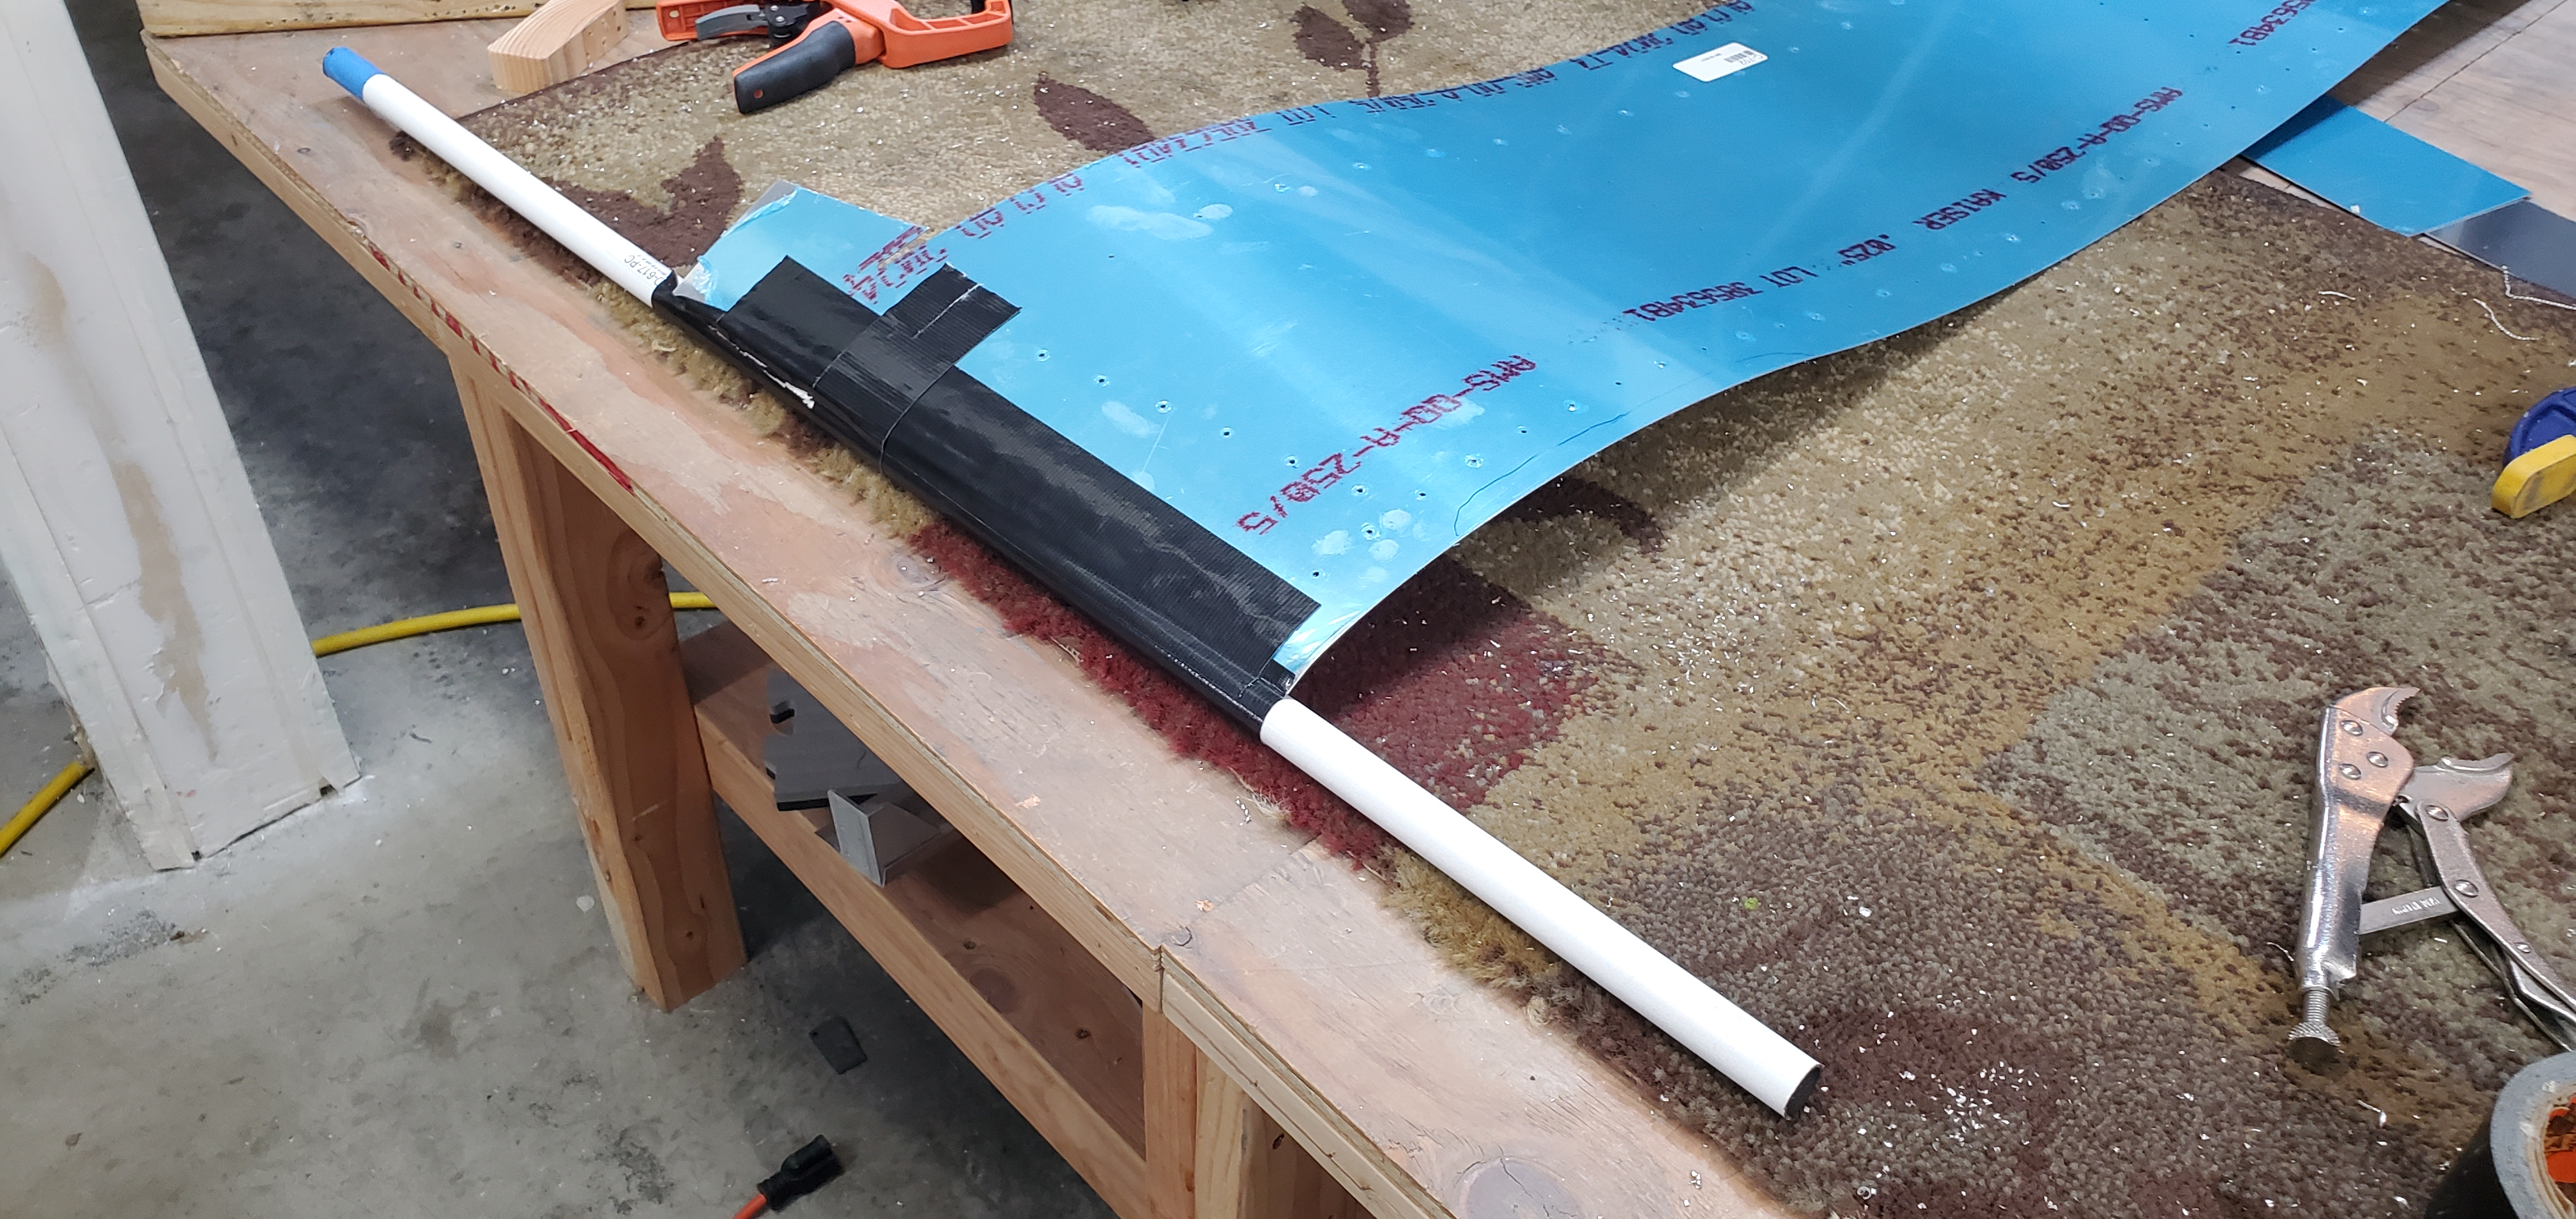
I really don't like how the skin fits on the sides. It's under so much tension that it flares out from the frame and won't line up with the side of the fuselage. I taped a tube to the edge of the skin and rolled each side a little to pre-bend the skin to make it lay down a little better. It did help, but in the end, the design is such that this portion of the frame is only going to get so good. My guess is I'll have to do some body work on it with fiberglass once it's all put together.

With the sides sort of where they need to be (until I breathe on them and they move), the front skin joint is the next to deal with. Van's says the front joint gap should be .032", but consensus of thousands of builders says that is way too tight and causes the skins to catch on each other when opening the canopy. For starters, I just needed to see what the gap looked like, so put the frame in place with the skin on. My previous oops where I ended up with the subpanels at slightly different positions than the plans called for is now showing itself. It's not a big deal, but the slight differences in the subpanel positions causes the skins to not butt up against each other consistently across the whole span. When the outside edges of the front gap is zero, the center is almost 1/8". I pushed on the center of the frame to see if I could close that 1/8" and it turned out I couldn't. I did some investigation and found that the hinges were actually hitting the aluminum spacers that they insert into. I didn't feel like unbolting the entire front hinge assembly to trim those spacers, so instead I decided to trim some meat off of the hinges themselves. I used the die grinder and knocked the front curved edge off. That did the trick and now the center portion of the frame could move further forward.

With those hinges taken care of, I had a lot more flexibility with the skin gap. Because of the subpanel issue, the outside 9 inches or so on each side had to be shaved down no matter what. The question was how much? Slowly but surely, I started sneaking up on opening up the outside edges with a file.
Once I got the gap on the outside portions close to where they need to be (still need more filing, but that will come later once things are all riveted together and solid), the next gotcha showed up. The thin ledge that is riveted to the subpanel and that the weather stripping sets on was hitting the front frame channel and keeping it from moving forward the last tiny bit to close up the gap. I filed away the areas that were hitting and finally had a decent fit across the entire width of the frame.

The nerve wracking step of drilling the hinges was next. It's not a hard step, just a point of no return. I've read of too many builders who drilled the hinges, only to realize they misjudged things and didn't have good enough edge distance of the hinge hole. The only choice if that happens is to weld the holes shut and try again or completely start over with a new frame. With the skin clecoed back onto the frame for the millionth time, I duct taped the skins together to try to keep the gaps where I wanted them while drilling. I also put a ratchet strap around everything to hold it down in the vertical plane so the tops of each skin matched up with the other. All of this was to hopefully put the hinges exactly where they needed to be for drilling.

Drilling the hinges was a bit awkward. Once the frame is in place, the hinges are hidden in between the UHMW and aluminum mounting blocks I made a while back (and everything is covered up by the front top fuselage skin). There is a 1/4" hole in those blocks where the hinge pin slides through and captures the hinges. I put a 1/4" drill bit in my angle drill, reached up through the cutout in the firewall and used that existing 1/4" hole as a guide to drill into the hinges. The idea is not to drill through them but just drill enough to get a full 1/4" marking. I pulled the frame off, and with a huge sigh, I saw that the holes were nearly dead center on the hinges.
I used a wood drill block clamped to the hinges to help get a good 1/4" hole, then slowly upsized the holes until they were 3/8". I used my rivet squeezer to press fit brass inserts into the holes (this pic is before they were fit - they actually set flush with the face of the hinge).

Now that the hinges have the mounting holes, I can more reliably start to massage the fit of everything without worrying quite as much about the position shifting every time I take the frame off. I temporarily bolted the latching mechanism on (it'll have to be removed again to allow me to rivet the top fuselage skin on). It was pretty cool to see that the mechanism that inserts/removes the hinge pins works flawlessly. When I tried to lift the frame up for the first time, it hit the center weather strip ledge as it rotated. I hadn't filed down that center ledge earlier because it looked like it had a good gap. It did have a gap in the closed position, but the opening motion pulls the frame channel forward into the ledge as it rotates. So I chipped away at the ledge with a file until I got the clearance needed.

It felt really good to get all of this sorted out. I know that once I rivet the skin onto the frame, the fit is likely to change and I'll have to do more tweaking, and then again once the side rails are fitted, and again once the canopy is fitted, but it's still a big step to have this part done!

